Tuesday, November 16, 2010

Mini Projects

There are so many little touches that can add greatly to the impact of a room. The best rooms are ones that entirely reflect the energy of a person or family. Spaces should feel layered, as if collected and pieced together over time (even if that is not the case!). The smaller additions often tell the best stories and can become instant conversation pieces. Here are a few of my favorite "mini projects", as well as some accessories that were a steal (and pack a punch).

I love fabric! Besides the obvious uses (pillows, curtains, upholstery) it can be used as a piece of art. Whether it's framed or stretched across a canvas, used as a liner for a tray, wrapped around a lamp shade or adhered to the wall like wallpaper, fabric can be utilized to create layers in a room. Plus, it won't break the bank so feel free to get a little crazy if you find a print you truly adore. In small doses, even high end fabrics can be used on the cheap. In this project, I had three fabric samples that I was struggling with. They were too small to create pillows and they carried a lot of the same colors as the wall paint in our home. I decided on creating wall hangings with them by making three square frames and stretching the fabric across them.

The frames were made out of pine scraps leftover from another project. If you do not have access to a table saw to strip down pieces, simply go to your local home improvement store and have them cut down pieces. You will simply need to know what lengths you want the sides of your square. The frame can be secured using small nails or even wood glue. They will not be supporting a lot of weight so glue totally flies in this project! Using a stapler, I secured the fabric along the backside of the frame. When doing the corners, remember that you are only going to see the front, so fold the fabric so that it is pleasing to the eye. Then get crazy stapling!

Now to pop these frames off the wall......BLING IT UP!! Simple decorative upholstery tacks add a little sparkle and help to reflect some light from the border. These can be found at any hardware store. I picked these up at Lowe's for $1.29! They come in many finishes......as you will soon see! Plus, these can be used in a bunch of different places: around the edge of a table, the border of a lamp shade, around a picture frame, along the corners of a shelf. The list here is endless!

In another room, I used a similar idea with a completely different look. In our study, I mounted an old, used coffee bag I found at an antique shop in the same manner. I went with brass upholstery nails to vibe more with the colors in the burlap bag as well as the room itself.

Another simple project......


I found some inexpensive mirrors (large: $6.00, medium: $3.00) at a barn sale. Add to that a small, ornate frame and a can of semi-gloss spray paint.......


And I have an interesting grouping that bounces light into the dining area! Maybe you have a mirror or some old frames that are going unused in your basement or attic? A unifying color can instantly create a cohesive look!

Lastly, twine is one of my all time favorite materials to work with. In these two projects, all that is required is a glue gun and any object ( vase, frame, mirror) that you would like to add a little texture to!


Here I simply grabbed leftover vases that I was not using. To start, drop a little bit of glue along the base of the vase. Adhere the end of the twine piece and let cool before starting to wrap. Once the twine has adhered, start wrapping the vase with the twine and end wherever is pleasing to your eye.


Or use styrofoam balls to create some texture. These can be grouped with balls of other sizes in a decorative bowl or wide mouthed glass vase too!


I hope these mini projects have given you some ideas! Sometimes all you need is a little inspiration!

Sunday, November 14, 2010

Oh The Drama

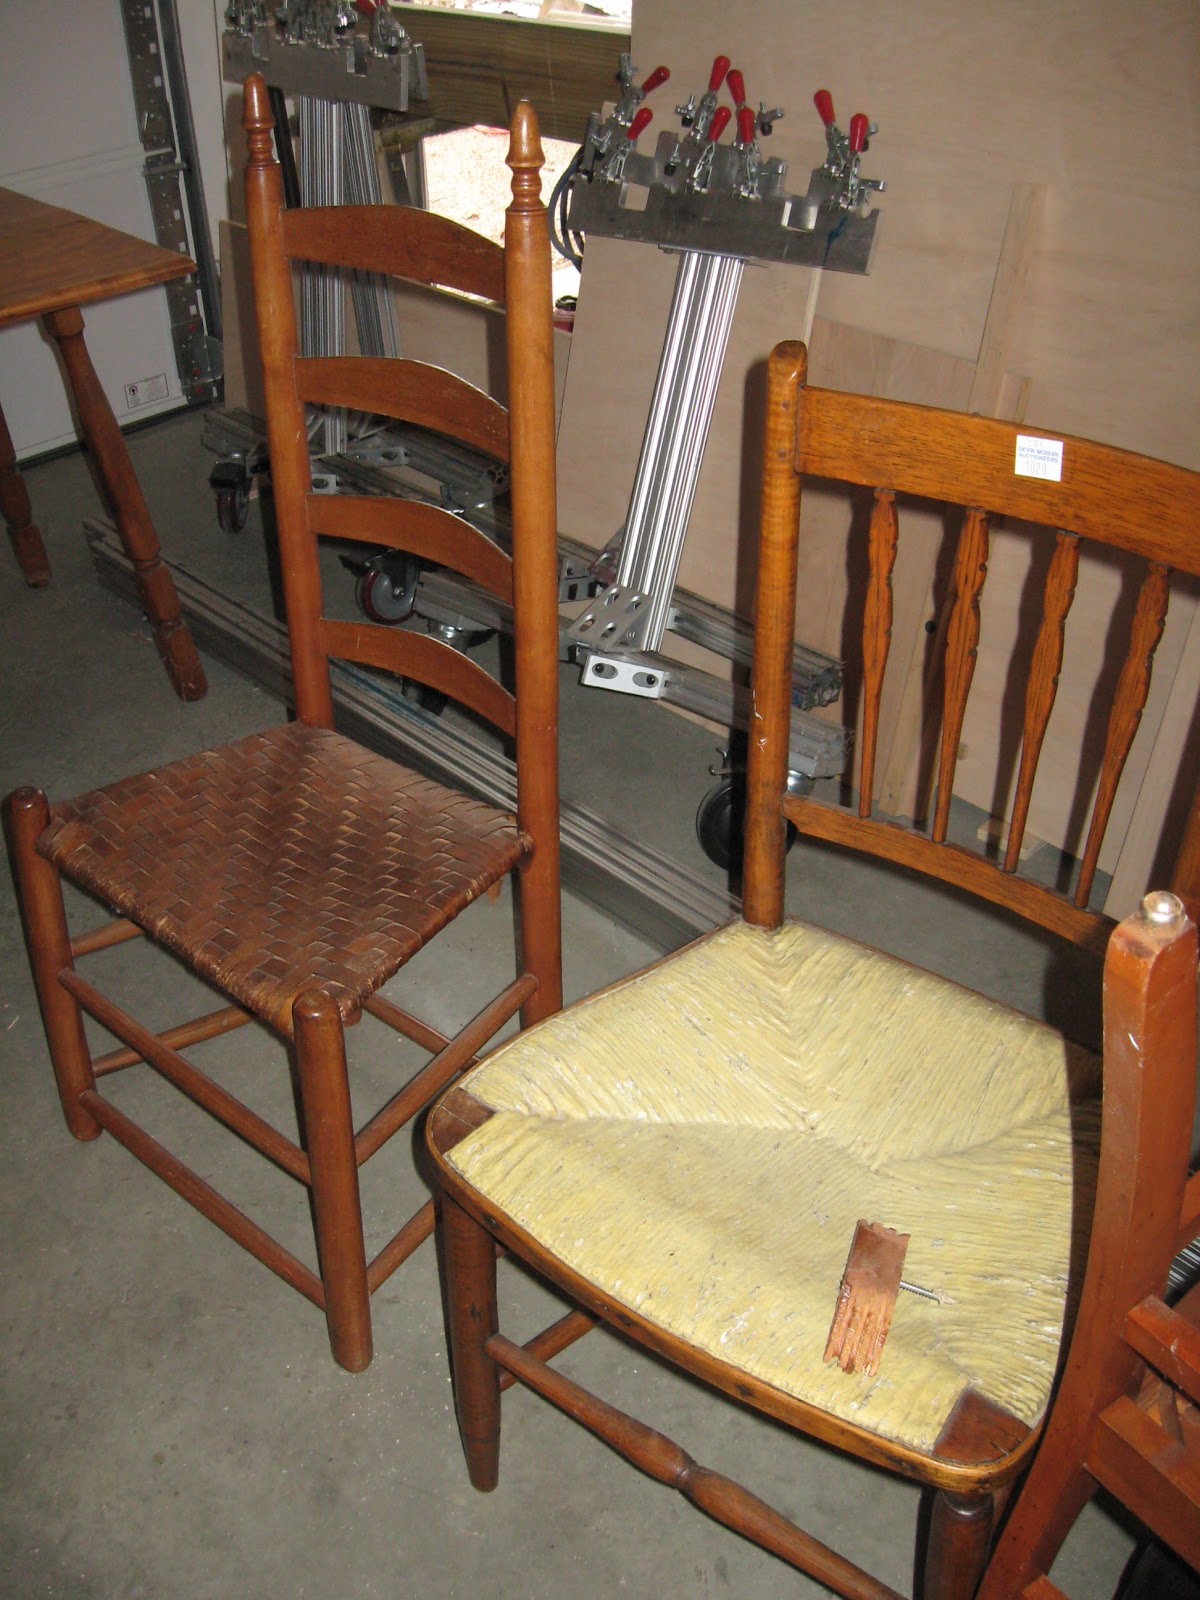
I was hoping to have the dining room makeover completed by the end of this weekend, but alas it was not meant to be. I can't really complain though considering how well everything seems to have come together on this large undertaking. As I mentioned, I was given 8 antique dining room chairs. Ahhhhhhhhh and did I mention they ALL needed a little TLC in my workshop. So the weekend was spent gluing, nailing and sanding to ensure these chairs could not only look the part, but survive an active family using and abusing them daily. Every chair needed some lovin', a loose spindle here, a wobbly leg there. I must say though, that they are really starting to take on the look I want. There were only 2 chairs out of the lot I decided against painting. I wanted something to break up the white. Here are some inspiration shots for this look:

So flippin' fantastic. I love how the look seems sophisticated without an air of hoity toity-ness. Relaxed, yet screaming for a dinner party, oui?

For my look, I am loving how the chairs all have different heights and each chair has a unique character.


The pads of a few seats were actually stuffed with horse hair. Yikes! I quickly broke the seat pads down to be reupholstered and as part of the much needed face lift, some new, fluffy batting from the craft store. I decided to paint the chairs Dover White (which is the same color as our media center) to break up the darkness of both the table and the bar.


As for the fabric for the seat pads.....I was craving an updated farmhouse look. I happened to find some fabulous sale fabric last weekend and grabbed a few samples. I figured I would use them either on this project or another. They look like they are going to be the perfect compliment!

The chairs are simply begging for another coat of paint so I am signing off on my way to the workshop! Patience is a virtue! Ahhhhhhhhh.......................

Wednesday, November 10, 2010

Serendipity

I am currently drooling over our new dining room table. I mean.....I JUST CANNOT STOP STARING! Just wait for the big reveal of the dining room makeover at the end of this week. The suspense is killing me.

Don't get me wrong, we had a beautiful set from Crate and Barrel. There was just something about it that didn't fit with the "farmhouse chic" look I wanted. Our former table had modern lines and was suited towards condo life. I was in need of something heavier with big, chunky turned legs. A farmhouse table but with a little modern twist. Ever have that idea of something and then become obsessed with searching out the perfect look to satisfy it? Flash forward to me this past Sunday. Through the wonderous power of Craigslist, I met a woman who was emptying out her barn of antiques. Long story short, she invited the Hubs and I over on Sunday to have our pick of the lot in exchange for our help moving some furniture around. Um, DONE. So now that Joyce is my new best friend and I have 8 mismatched antique dining chairs sticking out of the back of our truck, we hit up the Crate and Barrel Outlet. (Just to peek...ya right.) And as if the day could not get any better......there she was....the Kipling Dining Table.

And cue the drool......


It was EXACTLY the look I wanted. The kicker here kids.....the table was marked down to $79. Yes, that is a discount of roughly 92%! In retrospect I should have bought 5 of these tables! This brings me to the point of this particular post. Know when to shop! Most outlets do markdowns on Sunday and Monday. These are the days to get the deals. Likewise, Monday is the best day to do your online shopping. So remember this tip when you are trying to get optimal pricing on a piece!

Sunday, November 7, 2010

Serve Me Up!

I am utterly in love with my latest project. It all started with an email from a friend regarding a cute little vintage highboy style dresser she saw on Craigslist (are we noticing my slight obsession with Craig and his sweet list?). The listing showed a fuzzy picture of a black, chipped dresser that was in need of a little TLC. And the kicker......it was being given away. So thanks to my wonderful husband, this little dresser found it's way to my workshop.


The bonuses here are the line items I tend to look for in all furniture pieces. Does it have anything unique? Particular hardware? Style? Is it solid wood? Dove tailed drawers? And this baby had all that and more. I love, though it looks a little rough at first glance, the crystal knobs and the keyhole and lock for the top drawer. These are just little things that seem to make this stand out. And what a find!
I love this keyhole!


I started my design by examining all the drawers to see which one would be best suited to become the wine rack. Since I love the little keyhole at the top of the dresser, I decided to furnish the wine rack in the lower tiers. I wanted it to look like it was always meant to be a bar, so I went with the last drawer. This project required a small piece of plywood, wood screws, a hand drill with a Phillips head bit, a screwdriver, a level and a tape measure.


The cute baby in the background is optional.
I began by taking the interior measurements of the bottom drawer and cut a piece of paint grade furniture plywood on a table saw. If you do not own or have access to a table saw the nice people at Lowe's or Home Depot will do this for you!

Once this piece was set, I cut 5 inch long X 1 inch wide strips from the leftover plywood to be placed as spacers for the wine bottles.
I measured a variety of wine bottle bases and decided that 4 inch gaps would accommodate most wine and champagne bottles. This is important to utilize the space for the most bottle storage. I placed my spacers evenly across the board and pre-drilled holes for the screws. This is an important step when working with plywood so that you do not split the wood when fastening the screws.


The level is used to ensure that the spacers are set evenly across the board. Once all of the spacers are secure, I like to go back in with a Phillips screwdriver to tighten the screws. I find you can easily strip the screw when using the hand drill to get a tight fit. (Side note: Stripping a screw results when the teeth of the drill bit wear down the grip on the head of the screw so that you no longer get any hold on the screw. The drill bit then just turns without tightening or loosening the screw itself.)


After positioning and securing all of my spacers, I laid out a few bottles to see that the layout worked. Next I moved the entire board into the dresser to make sure the board itself was level.


The end is near my friends. Now onto the finishing touches. I used a satin black primer/paint combo and put a nice coat on the entire dresser, including the new wine rack. It is also important to paint the interior of this drawer as it will be visible.


I chose to not paint the entire interior of the piece, mostly because the backside of the top of the dresser would be never be seen. The wine rack required 3 thin coats while the rest of the dresser only required 1 coat. I gently cleaned the original hardware and added some washers to get a tighter fit. Hardware is such an interchangeable item and you can easily swap it out (and cheaply too!).


I have a few wine bottles stored on the bottom, while the top 4 drawers are used for stemless wine and champagne glasses, bottle openers, cocktail napkins, coasters and other serving ware for parties. This dining room project is in full tilt as I am tackling a whole new look for the dining room table. That being said, I have not styled this bar yet. I have a few ideas for the walls to tie the look together. Hopefully by the end of the week we will have the big reveal for the whole look!

The best part about this project is how simple it really is. You can easily take any dresser in your home now and give it a little face lift with this project. Being able to re purpose furniture is a wonderful trick to breathe new life into a piece!

After After Shot - A little styling!

Thursday, November 4, 2010

A little sprucing....

I have some easy projects that have been completed this week and although they are not major on the wallet or the clock, they make a punch in the house! Since making the major purchase of our new yummy chocolate brown sectional, I have been contemplating the scale of our previous coffee table. Something about it just wasn't working. Maybe it was too long or maybe it was because it was solid fir and the color wasn't jiving. Regardless I started the hunt for the "perfect" coffee table. Having no idea what I was looking for, I set out on my mission determined to find something that was: solid wood, boxy with clean lines and white. Oh and did I mention that I set a budget of $25 for this little gem? Oh craigslist.......how I love you!

Lo and behold, a solid wood, boxy, oh so inexpensive ($20) coffee table. Again someone's cast off is another person's gem! So I set about with my new bestie, the electric sander, and roughed up all the sides and edges of the table. This step should never be skipped when you are painting solid wood. The paint will adhere much better. One other hint, as I have mentioned in another post, is that it is much better to apply multiple thin coats of paint, rather than a few thicker ones. This will avoid dripping and clumping which will inevitably result in the object needing to be sanded down again to achieve a more uniform, clean look.

It is also important to find the type of look you want: flat, satin, semi-gloss, gloss. These paint types of sheen were a bit elusive to me prior to my addiction with painting every surface in our home! Here is a loose tutorial for you!
Flat Paint: This family of paint are best described as non-reflective, They are best used to hide flaws or imperfections. Think textured surfaces or areas that you don't want to draw the eye to. Examples would be ceilings, hallways or surfaces like popcorn or stucco.
Satin (Eggshell): This paint group have a little more luster or sheen than their flat cousins. I would use satin on the walls in a bedroom or maybe a hallway. It is also a great paint to cover furniture that you don't want to "pop" too much. Examples would be a bedroom dresser or maybe a hallway mirror.
Semi-Gloss: Now we are starting to talk "pop". These paints have a much more reflective sheen and reflect light well. These are great for accents like cabinets and drawers, windows and trim or any type of furniture. I tend to use this for most furniture that I paint.
Gloss: Now we are in the highest sheen category. These paints reflect a lot of light and should not be used on anything that may have textural imperfections, dents or chips. This group of paints is also the most resistant to stains. I think it is a great option for furniture pieces that are objects to be showcased. Maybe a gorgeous side table or bookcase. Think of pieces that are maybe smaller in scale for the room, but have great architectural detail or amazing color.

Now back to my little coffee table! After applying a few light layers of a Dover White semi-gloss paint that we had leftover from our trim, I let the piece dry overnight.

Notice the little bit of sheen in this picture. Remember this was taken in the basement of our home, so you can see that the paint really does attract light even in the dimmest of areas.

After bringing the piece upstairs and styling the top of it.....voila!


A few coffee table books, a blown glass vase that I popped a pillar candle into (Home Goods $12.99) and an antique wood tool box (barn sale $5.99) complete the look. I hide the remote for the tv and some cork coasters in the tool box. I love the look set against the brown of the couch.

Next I finally finished up the chair I purchased on the Cape (many moons ago) for our computer area. A small reminder that this chair was $3 at a barn sale. I liked the design of it and although it has a few wobbly spindles, I loved the overall style! Reminder shot:

Cute, right? Total bonus to find an arm chair for the computer desk! I brought it to my workshop (a corner of our garage) and started to locate all of the loose spindles. Using some basic wood glue purchased at our local store, I started to secure each spindle.

Don't worry about clumping as you can sand it off after. Also this glue dries clear so have a heavy hand when applying to a project like this.

Next I started applying thin coats of a satin primer/paint combo in black.

I applied three thin coats to all surfaces (even the underside). 24 hrs drying time and.....

As you can see , paint can dramatically change an object. Something old, suddenly looks crisp and fresh. My next project in this space is to clean out the area beneath the desk. It is in need of some major organization!

Next up for me is a highboy dresser found on craigslist for FREE! My idea......make it into a bar!


I am drooling just thinking about it. It came with beautiful crystal knobs and it is solid wood. Woohoo! So excited. Stay tuned!
Related Posts Plugin for WordPress, Blogger...